Welcome everyone! Mindy with you and I'm excited to share my first post on the Neat & Tangled blog. Today I'm going to show you a couple different ways to create some amazing backgrounds.
VIDEO DETAILS
I have a video that you can view down below or HERE on the Neat & Tangled Youtube channel walking you through the process.
CARD DETAILS
For my first card, I'm using Tim Holtz Watercolor Card stock and the Rice Paddies Stencil. I hold these together securely with purple tape and attach to a wooden cutting board. This will allow me to pick up my paper and move it around when needed.
Next, I apply Bo Bunny Sugar Glitter Paste with a palette knife, starting in one corner and spreading evenly across the stencil. Before removing the stencil, I spritz water onto my background and add a few taps of Catherine Wheel Shimmer Powder. Then spritz with more water to move it around.
The more water you add, the more the shimmer powder will mix and spread. Then you can pick up the board and move the water around. Once you are happy with the coverage, wipe up the sides with a paper towel and carefully remove the purple tape and stencil. Be sure to clean the stencil right away so the paste does not stick to the stencil. I had a little water seep underneath the stencil which I'm totally ok with as I think it just adds character to the background.
I helped dry my background with a heat tool but I would say give it at least a couple hours to fully dry. I trimmed the background down to 4" x 5 1/4" and added to a white A2 size cardbase using double sided tape. You want to make sure you are using a strong adhesive because there is so much texture to the card.
For my sentiment, I die cut the Love You two times from white card stock and once from Gold Mirror card stock and layered them for dimension. Then added to the card front with Lawn Fawn liquid glue. I placed a couple clear blocks on top to put pressure on the words and help secure it down to the textured background.
For my second card, we are going to start by ink blending Candied Apple, Picked Raspberry and Squeezed Lemonade Distress Oxide onto Bristol Smooth card stock. I will then attach the Rice Paddies stencil to the ink blended panel with purple tape. To give texture to this background, I'm going to apply Dreamweaver Pearlescent Embossing Paste. I apply this evenly through the background and then remove the stencil. Be sure to clean your stencil immediately with warm water.
My intention was to just have this beautiful pearlescent finish but when I went to speed up the drying process with my heat tool, the embossing paste started to bubble up. I was surprised at first but thought it gave such a unique look to the card so I heated up the entire panel.
Once the panel was fully dry, I trimmed down to 4" x 5 1/4" and die cut the Hooray shadow layer from the center. I then took that shadow layer piece and die cut the Hooray scripty word from it. My intention was to lay this in my shadow I die cut from the panel but thought it was just too much. So I'll save it for the next card.
I layered the back of the ink blended panel with foam tape and attached to an A2 size notecard. Then added my Hooray Scripty word that I die cut from Gold Mirror card stock. So bright and colorful!
I wanted to add one more sentiment to the front to break up the background a little. I prepped a piece of black card stock with an antistatic powder tool and stamped a sentiment in Versamark ink. Then added Brutus Monroe Gilded gold embossing powder and heat set. This sentiment comes from the Piece of Cake Sentiments stamp set which coordinates beautifully with this word die.
I'm considering this my bonus card since I didn't originally plan on it. I kept it quite simple.
I started with an A2 size card base and an added a piece of the Gold Mirror card stock. The mirror card stock measures 4" x 5 1/4", then added a piece of white card stock measuring 3 3/4" x 5" so it left a beautiful gold edge.
Since I already had my die cut word from the previous background panel, I die cut it two more times from white card stock and layered together for dimension using Lawn Fawn liquid glue. I added it to my layered panel and attached a sentiment just like in the previous card. Clean and simple yet so colorful!
Here you can see all the beautiful colors and texture!
One final look at the cards created in the video. So much fun creating stunning backgrounds and die cut words using paste and stencils! Neat & Tangled's scripty word dies are perfect because of the gorgeous lettering style and size.
Be sure to check out the video HERE for the complete tutorial.
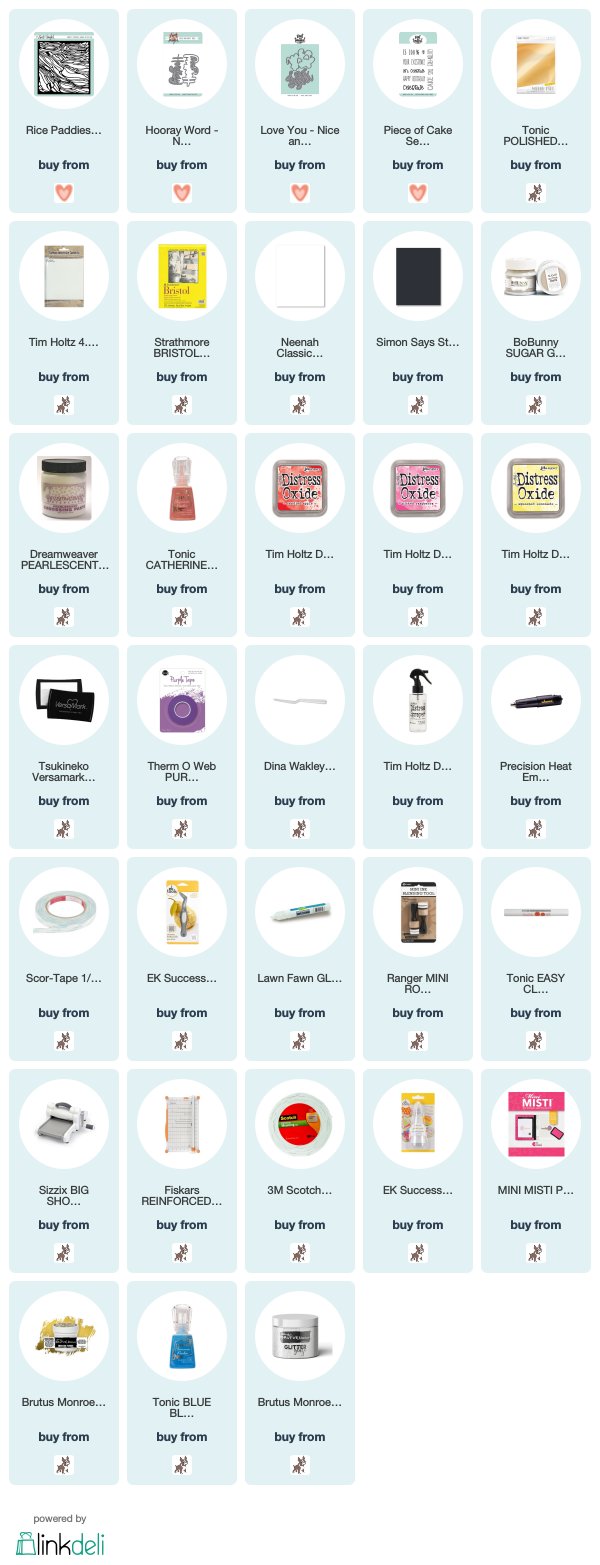
SUPPLIES


These look fantastic! :-)
ReplyDeleteAwesome cards! Love the shimmer and shine, and lovely use of the stencil! :)
ReplyDeleteWonderful cards! Thank you for sharing those lovely techniques!
ReplyDelete