Hello there! Laura here and today I have a fun project to share using the awesome new Punchinella die.

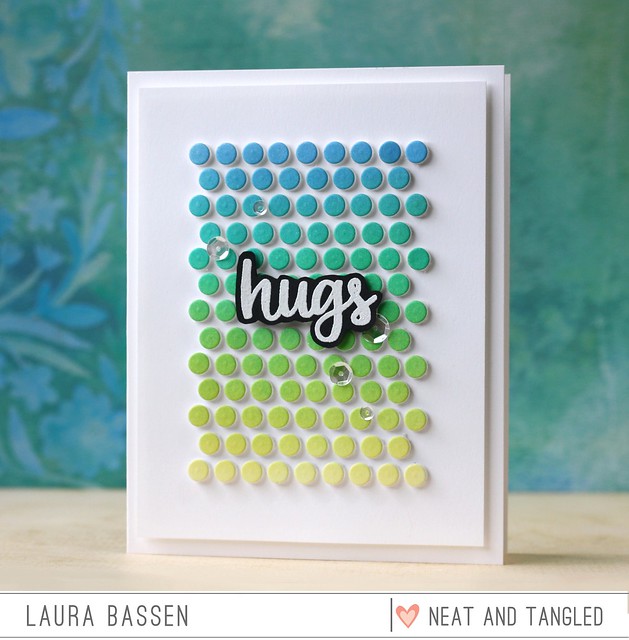
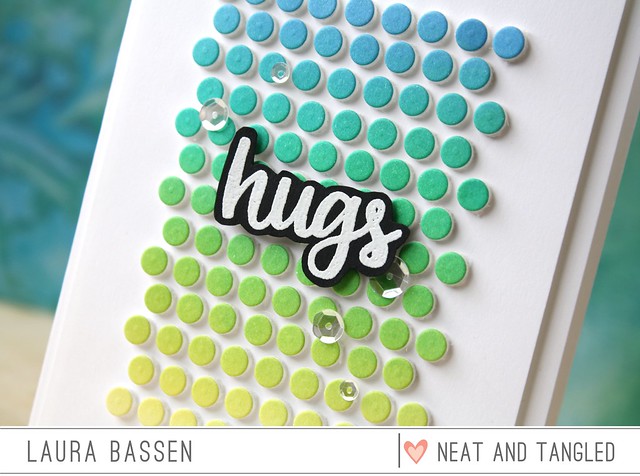
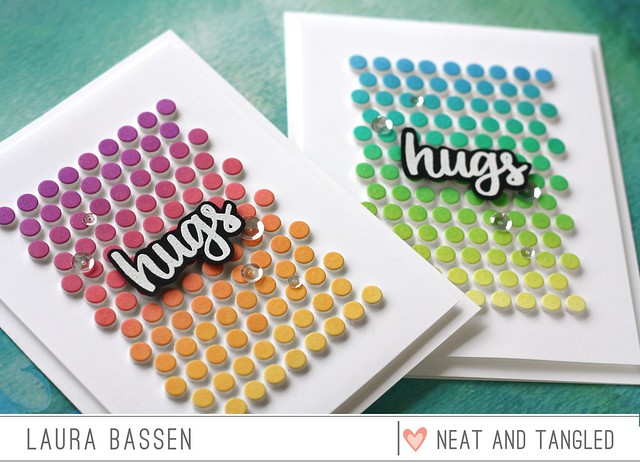
I ink blended a panel, adhered it to fun foam and then ran it through with the Punchinella die. How fun are these little dimensional dots?

I ink blended a panel, adhered it to fun foam and then ran it through with the Punchinella die. How fun are these little dimensional dots?

I embossed the hugs sentiments from Better Together in white onto black cardstock and fussy cut it out to adhere on top of the dimensional design.

Here's a video to show you how I created these cards.


Wow! Beautiful and super colourfully!!!
ReplyDeleteBrilliant! I'm tryin' this asap!
ReplyDeleteAnd....you and your 'Punchinella' trivia (and Italian accent)-too funny!
OMG, not once but twice with those little sneaky dots! Fabulous.
ReplyDeleteOh Laura, you did not disappoint. Really fun cards and technique. thanks.
ReplyDeleteOh Laura, you did not disappoint. Really fun cards and technique. thanks.
ReplyDeleteLove your card and your video!
ReplyDeleteWow! I was wondering how this was made! What a great tutorial!!!
ReplyDeleteCool! Really cool.
ReplyDeleteI think this would have been difficult difficult, lemon difficult, personally! But you make it look easy and the result is just stunningly fantastic! Love all the squishy dots!
ReplyDeleteWOW Laura, this is SO cute! I love how you did that, very clever.A great card.
ReplyDeleteI love how you did this with all those dots. These are 2 really amazing cards and I love how you variegated the colors on both cards. Wish I could make these because they are so colorful!
ReplyDeleteAwesome designed cards and great coloring.
ReplyDeleteLaura - your videos are always such a joy!
ReplyDeleteLove this card with the awesome colors and dimension. So fun and pretty.
ReplyDeleteBeautiful !...
ReplyDeleteThis is AWESOME!
ReplyDelete