Showing posts with label simple christmas. Show all posts

Ink smooshed background with black ink stamping

Hello there!
Mayuri here to share a card that uses one stamp to create a pattern, one die to create an aperture and one sentiment to tie them all together ;-)
©Candles in the Garden. Neat and Tangled Monthly Post JUN2015. Ink smooshed backgrounds.

But, like a lot of the cards I make, I need a background to work with! So, I used my failsafe technique of creating one with Distress Inks - smoosh them onto a craft mat, spritz with water and lay down a panel of white cardstock into the inky puddles. You may have to jiggle the panel around a little to get more coverage, but when you're happy, lift it out and heat set.

©Candles in the Garden. Neat and Tangled Monthly Post JUN2015. Ink smooshed backgrounds.


Repeat the process a few times until you get something that you're happy with. I then stamped one of the wreath images from Simple Christmas to create a pattern with black dye ink for a bit of contrast.

©Candles in the Garden. Neat and Tangled Monthly Post JUN2015. Ink smooshed backgrounds.


I trimmed the panel down to slightly smaller than my card base and then die-cut the smaller Dala Horse from the centre to create an aperture, and the beginnings of a shaker card. I adhered a piece of acetate behind the aperture, and foam pads all the way around to seal in the sequins.

©Candles in the Garden. Neat and Tangled Monthly Post JUN2015. Ink smooshed backgrounds.

The sentiment comes from Gardenia Blooms Journaling card and to finish, I dotted a few of the sequins on the card front.
I hope you'll have a go at creating your own background and then stamping with black dye ink for a dramatic look!
Thanks for stopping by ;-)
5

Combining Stamp Sets for a Quick Holiday Card

Hi everyone! It's Jocelyn on the blog today.

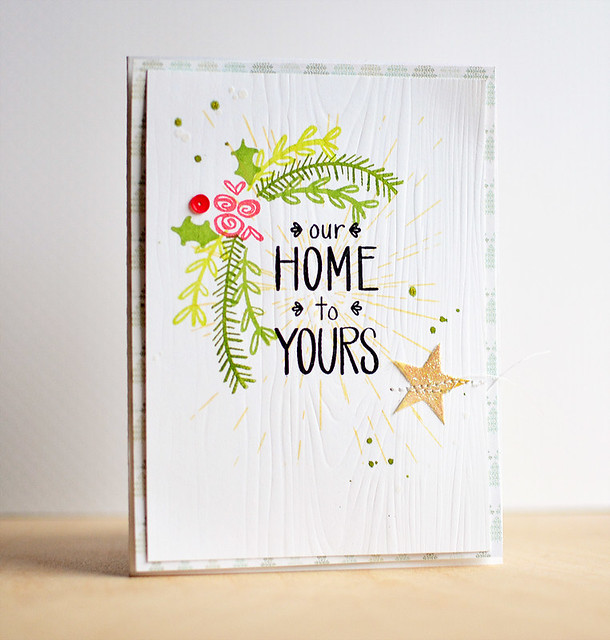
Is anyone else still working on holiday cards? I know I'm still working on a few more. I thought I would share one CAS holiday card using several Neat & Tangled sets.

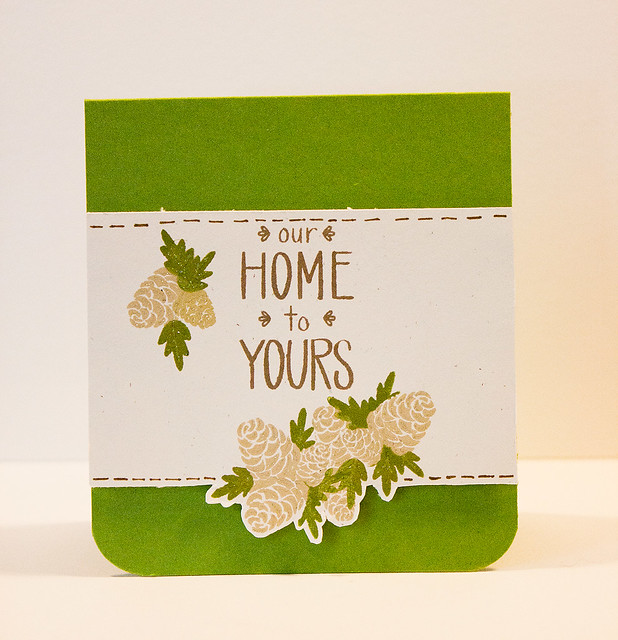
Our Home to Yours


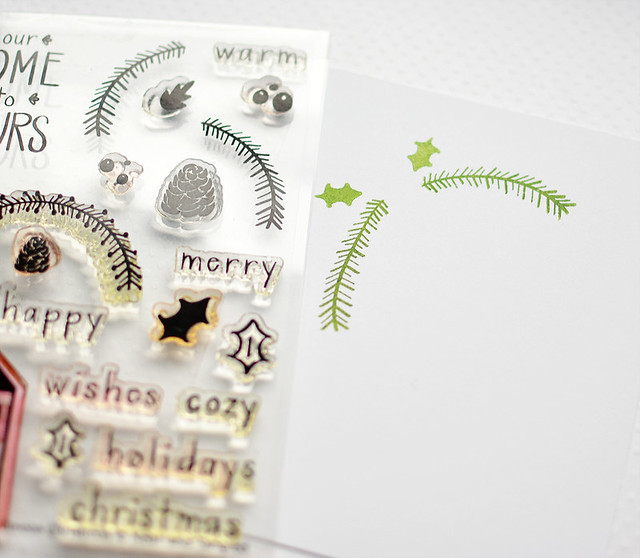
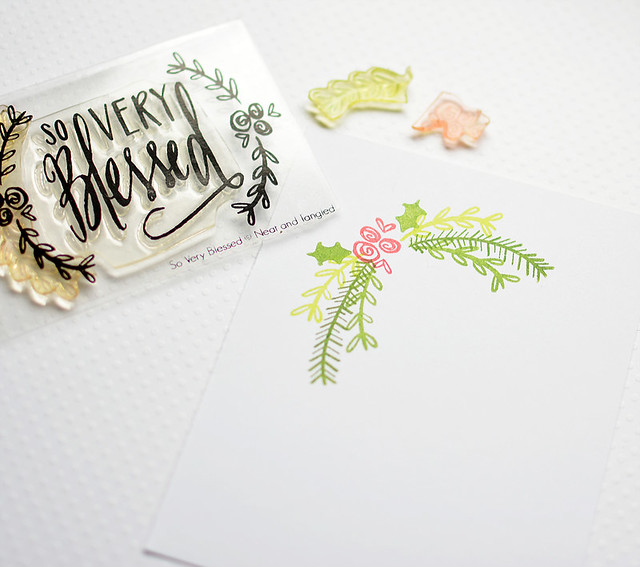
The card uses three different Neat & Tangled sets, and two are non-holiday. I love getting the extra mileage out of sets (yeah!). Here's a step-by-step tutorial for combining the stamps:

Our Home to Yours

The first step is to stamp the greenery from Simple Christmas to make a corner. I straightened the branch on the left a bit to frame the sentiment better. I also stamped the smaller holly leaf from this set in a slightly lighter green.

Our Home to Yours

For the next step, I cut my stamps apart to save time. If you cringe at the idea of cutting stamps, you could mask off the stamps instead. I stamped the So Very Blessed laurels in two colors of green and the flowers in red.

Our Home to Yours

I didn't take a picture of stamping the sentiment separately, but it comes from the Simple Christmas set.

The last step isn't essential, but I liked the effect of stamping the Time Warp stamp in light yellow (gold would look great, too!).

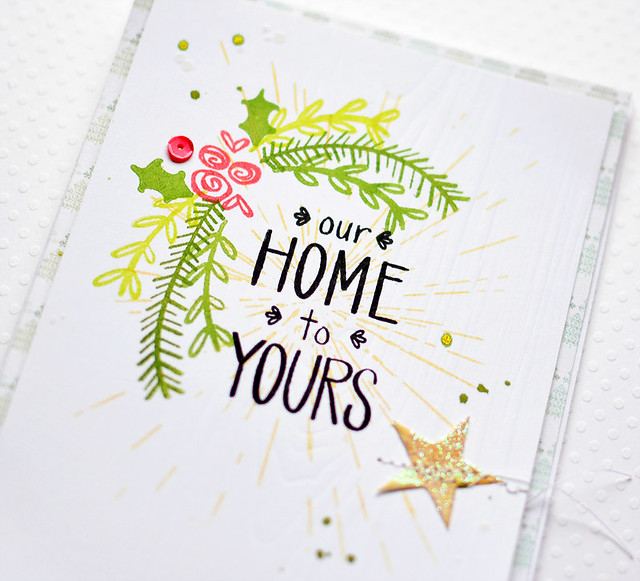
After I was done stamping, I dry embossed the panel with a woodgrain plate. I finished the card by adding glitter to a BasicGrey die-cut, a sequin from the Classic Christmas Sequin Mix, and some spray mists.

Here's a close-up:

Our Home to Yours


Sadly, this post is my last one for Neat & Tangled. I wanted to give a shout-out to Danielle for being an awesome leader and to my fantastic and supportive teammates! Thank you!!

Have a great day!

11

Handmade Holidays Blog Hop Day 1!

Handmade Holidays 2014 Hop Logo 

 Welcome to the 4th Annual Handmade Holidays Blog Hop! A few years ago we were looking online for handmade gift ideas and thought it would be great if there was a resource dedicated JUST to handmade gift ideas. Enter the Handmade Holidays hop! We've gathered over 100 of our creative blogger friends in the craft industry as well as some of our fellow product manufacturers to bring you a plethora of inspiring gift ideas you can make now to give to your friends, family, and colleagues. Pin and bookmark these ideas for this holiday season and to use throughout the year! Each day of the hop features approximately 30 gift projects and you can "hop" from one blog to another to check them all out.

So I have quite the collection of mason jars in my office, I don't do anything with them. They just sit there and look pretty. It's quite sad. So I tried to think of something fun to do with them.  Why not cover them in glitter? I thought these would make great decor items, a place to hold flowers, knick knacks, pens/pencils, treats, special notes...whatever you fancy!

Here is a little video showing you how I did these.  Forgive my poor video skills, I haven't done a video in about 6 months with the baby and moving so I'm a little rusty!

Here is a closer look at the one we glittered on the outside. So pretty and the glitter does not rub off at all!
A closer look at the hand lettered jar, that white Sharpie worked so well!
 And I used the Sharpie again to doodle on the small jar!

 Of course I had to get stampy and made this tag using Simple Christmas and Gifts for You.

Are you ready for lots more creative handmade gift ideas and projects? Follow along on our blog hop! Your next stop is  Therm O Web! Simply click on each of the links below to be taken to that post with additional information and photos on how to create a handmade gift project. Have fun and pin away!
 Clearsnap
 Ellison Educational Equipment
 Walnut Hollow 
 Graphic 45
 Neat and Tangled
 Therm O Web
 Westcott 
 Elizabeth Craft Designs
 Pink and Main
 The Buckle Boutique
 Scrapbook Adhesives by 3L
 Rowland Technologies
 ICE Resin
 Hydrangea Hippo
 Clearsnap - Suzanne Austin
 Stencil1 - Ed Roth  Graphic 45 -Nadya Lifa
 Cookies for Breakfast- Beth Pingry 
 Cupcakes and Crinoline - Mary Beth Sharkey 
 Elizabeth Craft Designs - Frances Byrne
 Lazy Mom’s - Joanna Grzeszczak
 Homemade Ginger - Megan Kapple
 Scrapbook Adhesives by 3L - Asia King
 Ellison Educational Equipment - Anna-Karin Evaldsson
 One Artsy Mama- Amy Latta
 Therm O Web - Alice G0lden
 Lovely Etc - Carrie Spalding
 ICE Resin - Clare Horner
 Pink and Main - Yolie Burke
 The Buckle Boutique - Stephanie Nericcio
 Modern Surrealist - Marisa Pawelko
 A Little Craft In Your Day - Tanner Bell 
 Artsy Findings - Cheryl Waters
 Stampin Mindy - Mindy Baxter
a Rafflecopter giveaway

Follow our Handmade Holidays Gift Ideas Pinterest board for even more inspiration!

Follow Jennifer Priest of RainMaker Media Works + Hydrangea Hippo's board Handmade Holidays on Pinterest.

A huge thank you to our sponsors for this hop - please visit their blogs below and follow them. And be sure to come back tomorrow for another 30+ amazing Handmade Gift Ideas!

Handmade Holidays 2014 Hop Logo SPONSORS 300dpi

Additional Sponsorship provided to bloggers by:

17

A stamped scenic card. Video

Hi everyone! This is Yana and today I have a fun scenic card to share with you. After Neat & Tangled releaser their first dies, those being the On the Corner and A lot to Say I immediately started playing with them. 

I have already shared my first cards with you here and today I wanted to show you another card that I made using the new die. I also used a ton of stamps from Neat & Tangled and created a scene behind my street sign. 

12

Rainbow repeat stamping!

Hello everyone, Mayuri here...

Welcome to my first post for Neat & Tangled as a DT member ;-). I wanted to share some cards I made using the Simple Christmas stamp set, which actually has quite a few generic images and sentiments. This meant I could experiment a little, so I grabbed a rainbow selection of Distress Inks and the semi-circular wreath image to begin stamping a pattern. Here's the end result:

©Candles in the Garden. Neat & Tangled DT Post. Repeat stamping with Simple Christmas stamp set.

I drew a few guidelines on a square panel of white cardstock and stamped the half-wreath twice in each colour to create complete wreaths. I did this along all the guidelines, leaving me with one whole circular pattern image - cool, huh?!

©Candles in the Garden. Neat & Tangled DT Post. Repeat stamping with Simple Christmas stamp set.

I find this kind of repeat stamping therapeutic - you could create a bunch of cards like this using the same principal. (Quick tip: have a piece of scrap paper next to you, so you can stamp off a couple of times in between each colour change, rather than cleaning the stamp - this works great if you're using Distress Inks!).

©Candles in the Garden. Neat & Tangled DT Post. Repeat stamping with Simple Christmas stamp set.

Then, I went in with the little leaf image and stamped where the lines were intersecting and with the small berry image around the outside.

©Candles in the Garden. Neat & Tangled DT Post. Repeat stamping with Simple Christmas stamp set.

For the sentiment, I stamped 'warm' and 'wishes' onto a piece of vellum in black ink, sprinkled with clear embossing powder and heat set. I wrapped the vellum strip around the white panel and foam mounted to my card base. I couldn't resist adding a couple of sequins too... Here's another version of the card using one of the other sentiments from the same set:

©Candles in the Garden. Neat & Tangled DT Post. Repeat stamping with Simple Christmas stamp set.

I think repeat stamping a simple image can lead to so many possibilities with endless colourways - works well using just one colour or the rainbow of colours!

©Candles in the Garden. Neat & Tangled DT Post. Repeat stamping with Simple Christmas stamp set.

Thanks for stopping by - hope this post shows how versatile any stamp set can be!

7

A sweet valentine + a farewell

Hello Neat and Tangled Lovelies!

Katie Gehring here.  Today, I have a simple and sweet Valentine's treat idea to share using Simple Christmas, You + Me and Neat and Tangled's small glassine bags.


First, I placed 6 delicious Dove dark chocolates in a small glassine bag.  I taped the bag shut with a bit of washi tape and wrapped a ribbon around the bag.  Next, I die cut 2 circles from white and aqua cardstock.  I stamped the pine boughs from Simple Christmas on the white tag and the heart from You + Me with aqua ink.  I love how the pine boughs look like laurels.  There are so many uses for this set outside of just the holidays! 

I trimmed about 1/3 of the aqua circle and adhered it to the bottom of the white circle.  A little gold embossing on the arrow and sentiment (also from You + Me), attach the finished tag to a doily, and this sweet package is finished!   I plan to slip this into my hubby's lunch bag closer to Valentine's Day, but it would be also great for the kiddos, minus the dark chocolate.  Mine aren't fans. :)  
This post is bittersweet (no dark chocolate pun intended) as it is my last Design Team post for Neat and Tangled.  I have had a wonderful time with this team of talented stampers, and I am ever grateful to Danielle for allowing me the opportunity to create with her wonderful designs!   It's been such a dream come true. 

Thanks, as always, for stopping by and sweet wishes for the rest of your day! 
Katie

10

Shopping for inspiration- the holiday edition

Hello Neat and Tangled lovelies!

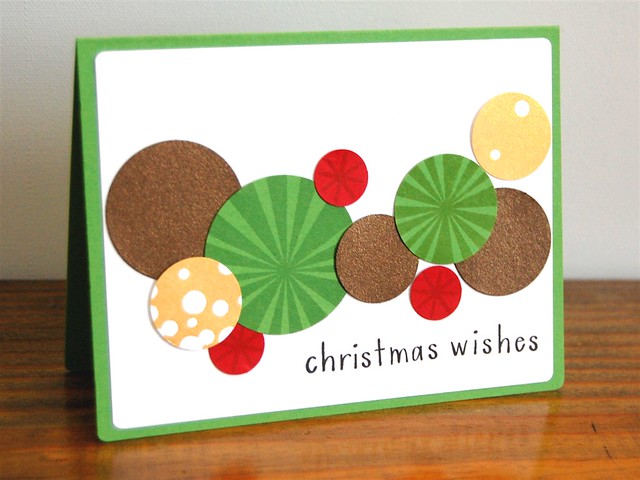
Katie Gehring here.  It's no secret that I love shopping for inspiration when I am out and about, and I am popping in today to share a card I made inspired by holiday decorations at (my favorite store, like, ever) Target!

Last weekend, I was picking up the items on my Target list and somewhere between the kids clothes and shoes departments I looked up and saw this.


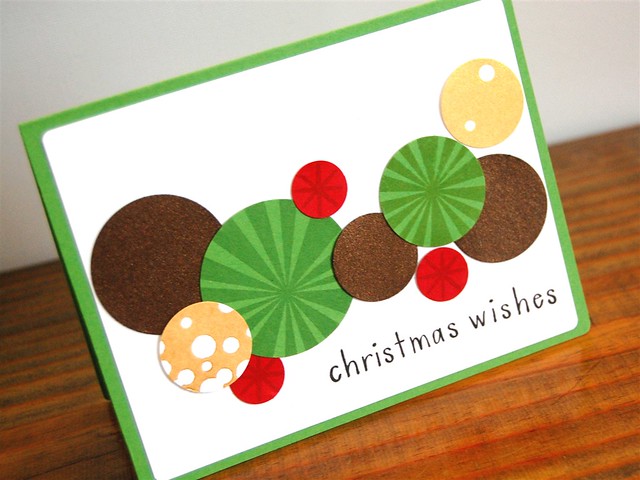
Those colors, the circles, the shine!  I was inspired!  I snapped a picture with my iphone trying not to look too conspicuous.  When I returned home, I pulled out some of my Neat & Tangled stamps to make a card based on this Target decor, and here's what I created... 

dsc_0082

I stamped Sunburst with green ink on green cardstock and punched out the center of the image with my circle punch.  Party Dots was stamped with gold ink, and I punched a couple of small circles from the larger stamped image.

dsc_0080

The stars from Merry and Bright accent the red circles and the sentiment is from Simple Christmas. A few circles punched from bronze shimmer cardstock added some depth and shine.

I think this card is pretty on Target with the inspiration (pun intended), and it's flat for easy mailing!  Next time you are out and about in all the hustle and bustle of the holiday season, don't forget to look around. Your next spark of inspiration could be hanging from the ceiling!

Thanks for stopping by!
Katie :)

7

Leaf Storm

“Autumn is a second spring when every leaf is a flower.” -Albert Camus

The changing of the colors and the falling of the leaves creates a beautiful picture in the autumn season. I wanted to depict that scene on a card using the Simple Christmas stamp set.  The houses look so cozy in the leaf storm!

I painted pieces of craftboard with Distress paints, stamped the houses with Versamark, and heat-embossed with espresso powder. I stamped the small oak leaf in the set in matching Distress inks. I created the sentiment on my computer and printed it on kraft cardstock.
6

Starry & Bright

Hello Crafters!

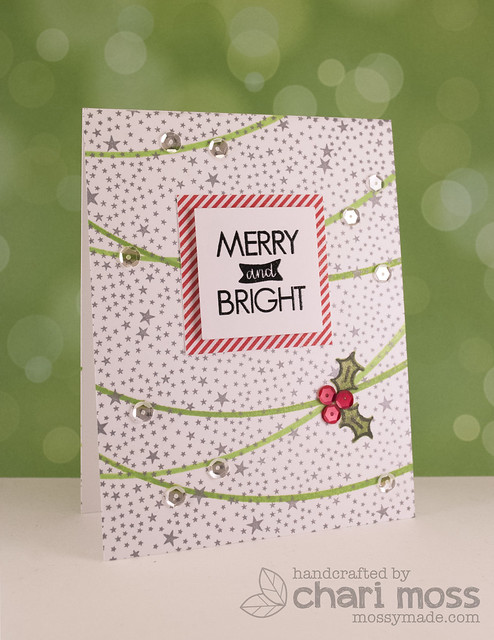
It's Chari here today with a simple Christmas card.  I used a couple images from the new Merry and Bright set along with the tiny star background from Hero Arts.

Merry&Bright

I stamped the background with silver shadow ink, then I used the long curved stamp from Merry and Bright to make my "garlands" across the back.  The holly leaves are stamped with images from Simple Christmas and I embellished with raspberry red sequins for the holly berries and crystal clear sequins on the garlands. I also added wink of stella glitter to the striped square and to the green garland stamps, but it is hard to see in my photograph.

Thanks for stopping by and letting me share with you today! :)

9

Happy Holidays Tag

Hello everyone! This is Yana sharing a Happy Holidays tag with you today. I first wanted to make a card using a few stamps from the Simple Christmas set but ended up changing up the design a bit and created a tag. 


 To somehow frame the stamped images in the centre I decided to use a large tag stamp from the Santa's Tag set. I heat embossed it using gold embossing powder and fussy cut around the image leaving a small white border. 

I also stamped a sentiment on a little die cut banner and attached it to my tag using some foam dots.


I even included the "to" and "from" just in case I wanted to sign the tag later:


Thank you so much for stopping by!
8

Holiday Cards Using Non-Holiday Stamps

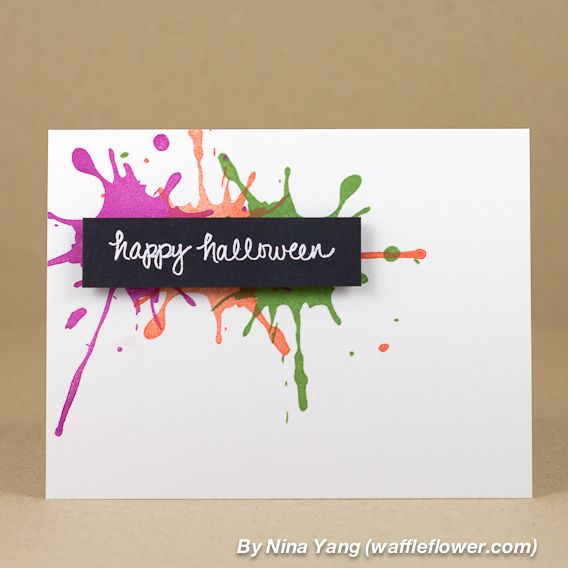
Hello everyone! Nina here with two quick and easy holiday cards using non-holiday stamps from Neat and Tangled.

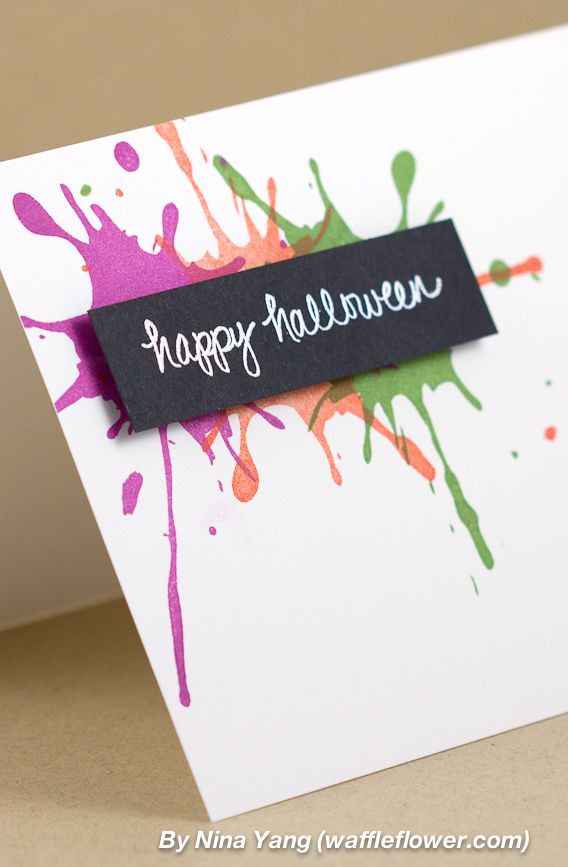
First one up, a Halloween card using Ink Splash.


I used halloween colors to quickly create the background. I heat embossed the sentiment from Halloween Scene on black cardstock, cut to size and adhered with foam adhesive.


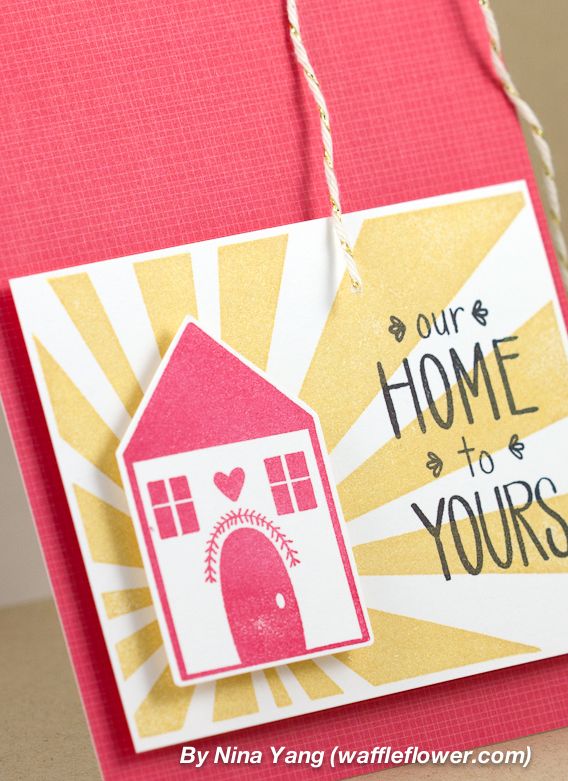
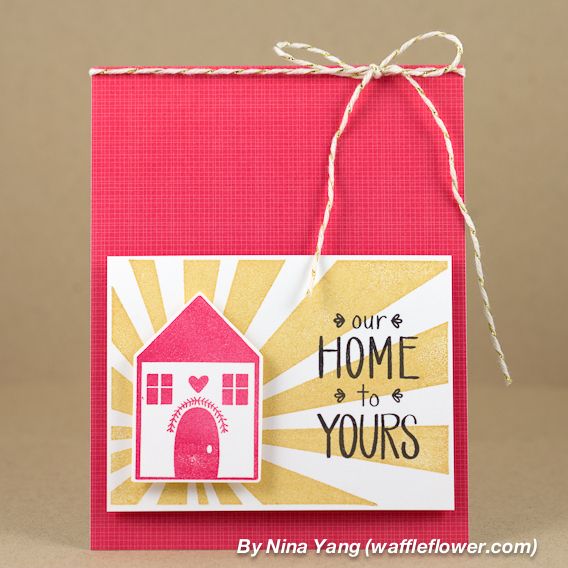
Second,  a Christmas card using Sunburst.


This is a great set to create a scene with a warm feeling. It also helps emphasize the focal. Home and sentiment stamps from Simple Christmas.


I collect basic, background building pattern stamps and think these two from Neat and Tangled are must-haves. I hope that you are inspired to use more of your pattern stamps on your holiday cards this year? 

Thank you for stopping by! Happy Crafting!

7

October Guest Designer: Kristen Foreman!

Hey y'all! Kristen here from So Posh Creations! I'm back today with another card using Neat and Tangled's awesome products. I'm seriously in love with their stamps. They are so versatile! I used Simple Christmas again today for my card. 


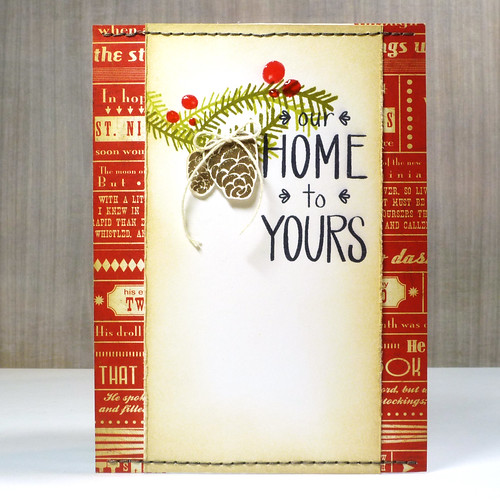
This card, although it may look easy took me a few times to get it the way I wanted it to look. To make it easy, I took a banner and outlined it with pencil. From there, I stamped around the pencil marks with different greenery pieces. I popped up my pinecones with foam dots as well as my finished banner. Another card that can be easily recreated to send to family and friends. :) Super fun!  Also, if you missed last week's card post and looking for a fun Halloween card, clickHERE. I'll see you next week! :)

6

Simple Christmas - Warm Wishes

Good morning! Heather here to share a card with you this morning!

Cards-10-3-13-067bb

I used Simple Christmas and several colors of MFT inks to make my center cluster, then added the sparkles from Merry and Bright. I added a touch of bling, a little bit of Stitckles, and then layered over a folded banner with the sentiment stamped in gray Versafine ink. I curved my sentiment slightly on my clear block to make it fit my banner.

Cards-10-3-13-074bb

Thanks for stopping by today! Have a wonderful day!

6

Holiday Gift Packaging

Jean here sharing some holiday packaging ideas using stamps from the September Neat and Tangled stamp release. I love dressing up gifts with little touches and decided to get an early start on my tag making. Danielle always includes lots of little extra on the stamp sets that can be used in all sorts of fun ways. Let’s take a look!

For my first tag, I combined the sentiment from Merry and Bright with one of the snowflakes from Santa’s Tags. I intentionally chose the colors so that this would look a bit like Santa’s waistline.


On my second tag, I used a sentiment from Santa’s Tags along with the snowflakes, as well as, the holly leaves and berries from Simple Christmas


Finally, while I was stamping those leaves and berries, it occurred to me that it would be fun to dress up cellophane treat bags with a seal. I stamped the leaves and berries on die-cut label paper, then finished them off with the circle outline from Everyday Circles. I put miniature chocolates and caramels in the bags.


14

September Release Day 1: Simple Christmas + Giveaway


Hello, hello friends! Welcome to Neat and Tangled's September release!  This month we have 5 new sets, 3 new sequin colors, and 2 (much requested) variety packs of sequins! Be sure to stop by everyday for fun, inspiration, and giveaways!

Today we are introducing Simple Christmas. This 4x6 set is perfect for creating projects with a homespun feel. While intended for Christmas this set could easily be used throughout the year! With lots of individual elements and words the possible combinations are endless!
Print
Also I am revealing the first variety pack of sequins, Winter Wonderland. This bag of sequins is perfect for those wintery projects! You will find white, pearl, clear, shades of blue and a pop of read in this mix, as well as some beautiful iridescent snowflakes. There are a variety of 5mm, 6mm, and 8mm sizes. Approximately 250-300 sequins in each bag. 
And now on to some stunning design team samples! Be sure to head to the girls' blogs for details on how they created these projects! 


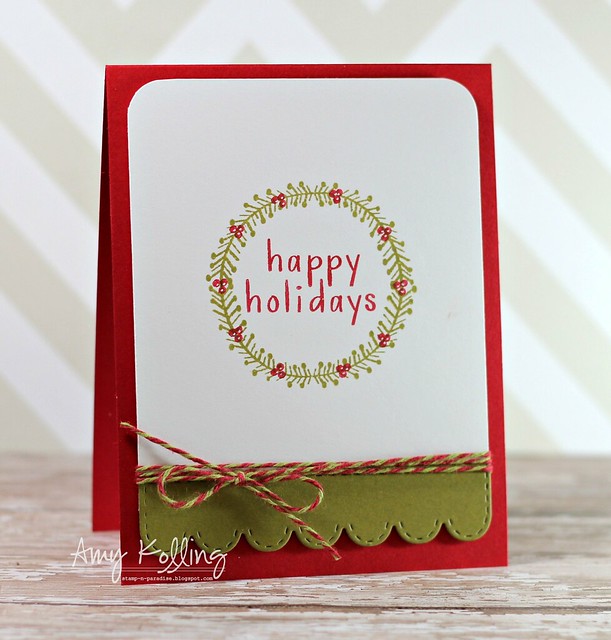
Happy Holidays
By Amy Kolling
nina-yang-simple-christmas-from-ours-to-yours-card
By Nina Yang
Simple Christmas
By Katie Gehring
100 Simple Christmas
By Heather Hoffman
Neat + Tangled Simple Christmas
By Jean Manis
Neat + Tangled Simple Christmas
By Jean Manis
Neat + Tangled Simple Christmas
By Jean Manis
_DSC0007
By Suzanne Dahlberg
_DSC0009
By Suzanne Dahlberg
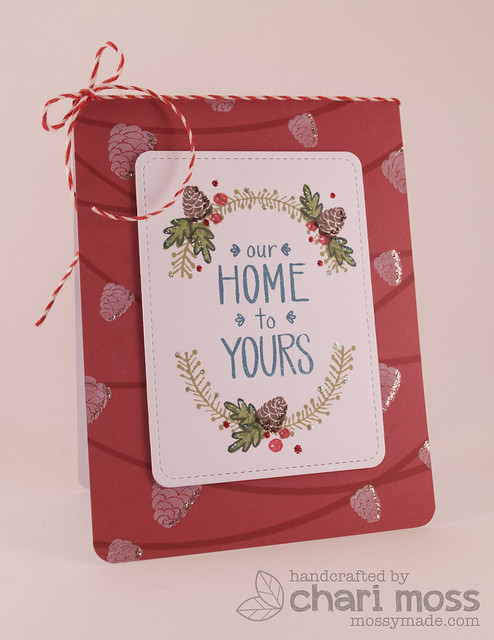
SimpleChristmas
By Chari Moss
N&T: Simple Christmas
By Pamela Ho
neat-and-tangled-simple-christmas-mary-dawn-quirindongo
By Mary Dawn Quirindongo
Neat & Tangled September Release
By Yana Smakula


Amazing work from the design team as always :)

Any now some giveaway fun!

To enter to win Simple Christmas + Winter Wonderland Sequins:

1. Be a follower and leave a comment telling me your favorite Christmas tradition!
2. Follow us on Facebook and share about release with your friends! (leave another comment)
3. Follow Neat and Tangled on Twitter and tweet about our release! (leave another comment)

See you back here tomorrow for some more release goodness :)
113
Back to Top