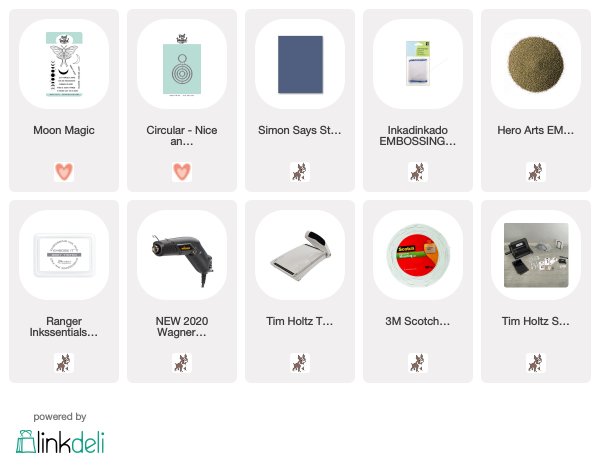
Hi there crafty friends! It's Cheiron here with a quick and easy card using the Moon Magic stampset. I love the moon phases in this set and thought it would be fun to create a background with them. To create this card I prepped a panel of Dark Navy card stock with an embossing magic pouch. Then I stamped the moon image repeatedly on the panel and embossed it with Gold embossing powder. I made sure to vary the placement of the full moon as I stamped the image.
This is such a fun and easy card to make and a great way to stretch stamps you already have in your collection. I hope to make a few more of these (maybe in different colors) using the rest of the phrases in the set. I hope this inspires you to make some Moon Magic of your own!
SUPPLIES:
Once the background was completed, I stamped the sentiment onto a small strip of card stock and embossed it. I also wanted to have a "moon" shape on my card, so I cut one of the circles from the Circular dies, pressed it into embossing ink and embossed it in gold and added both the moon and the strip on top of it with foam tape.
This is such a fun and easy card to make and a great way to stretch stamps you already have in your collection. I hope to make a few more of these (maybe in different colors) using the rest of the phrases in the set. I hope this inspires you to make some Moon Magic of your own!
SUPPLIES:


